


Stainless steel barista milk jugs from the brands on the world stage
TL;DR: Milk jugs are stainless steel pitchers for steaming and pouring milk. The Timemore Rosetta 700ml, MHW-3Bomber Milk Jug 5.0 and Fellow Eddy 500ml cover sizes from 300ml to 1L.
If you steam milk, the jug in your hand decides how the pour lands. A clean spout, the right size, a handle that sits well over a long shift: these are the things that separate a tidy rosetta from a milky blob. We've been steaming, pouring, and selling barista milk jugs since 1999, and we've tested most of what's on this page on a real bar. Browse by size below, or read on for how to choose.
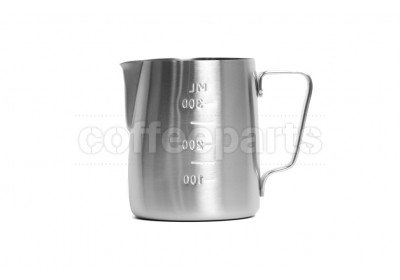
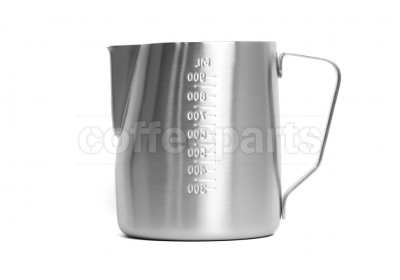
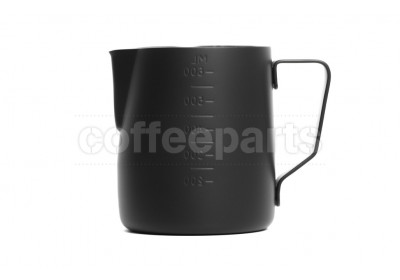
The figures on a milk jug (300ml, 600ml, 1L) are sizing guides, not fill lines. In practice you steam to roughly a third to half capacity so the milk has room to expand. A 600ml jug is the everyday workhorse for a single latte or two flat whites; a 300ml or 350ml jug suits a single cup and gives finer control for detailed art; a 1L jug is for cafe bars pouring several drinks at once.
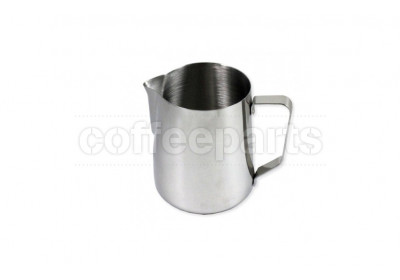
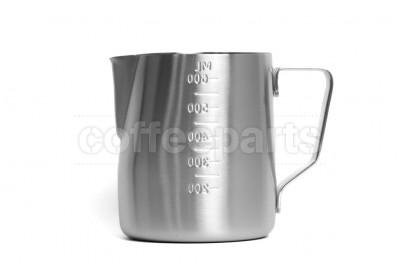
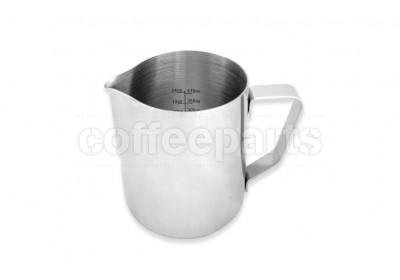
Most of what separates jugs is the spout. A sharper, more pointed spout (the eagle or hawk-bill profiles on the Artisan Barista, Fellow Eddy and iKape V2) releases a thin, controllable stream for intricate line-work. A rounder spout pours more forgivingly and suits free-pour hearts and tulips. The Pesado, Cafelat and Timemore Rosetta jugs are built around precision pours; the Latte Pro adds a built-in thermometer recess on both sides so right or left-handers can read temperature mid-steam.
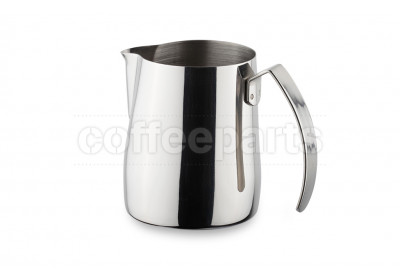
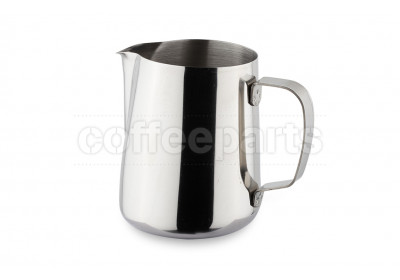
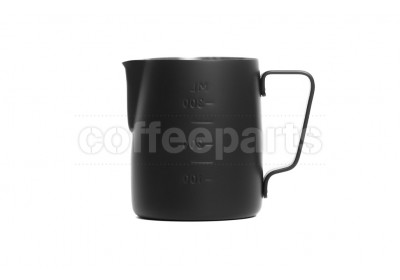
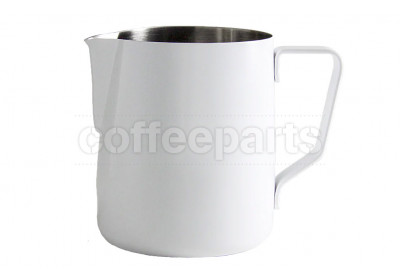
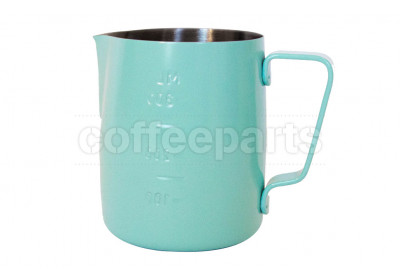
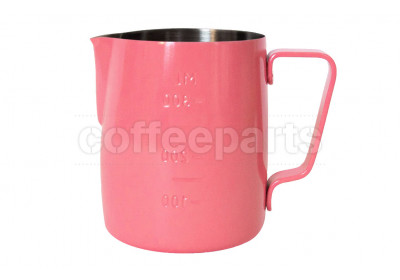
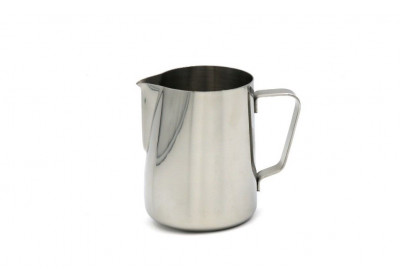
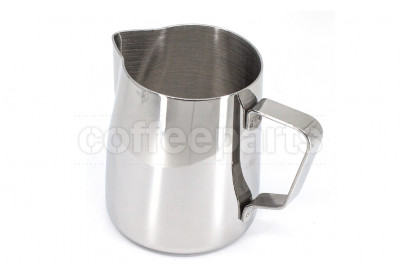
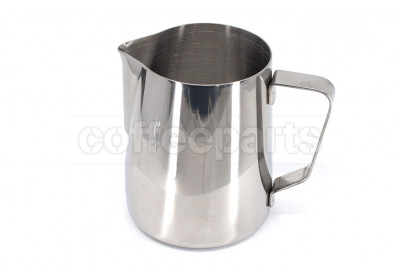
Good jugs are food-grade 304 stainless steel. Cafelat and Crema Pro use thick mirror-finished 304 walls with a rolled rim that holds heat and feels solid in hand. Lighter precision jugs like the Pesado favour a low, balanced weight for control. Painted finishes (Airflow, Coffee Accessories, Muvna) use automotive-grade coatings over stainless. We've seen thin, cheap jugs dent and warp at the spout within months of daily service. That dent ruins the pour. Buy the jug you'll still be reaching for in five years.
For a home setup making one or two milk drinks at a time, a 600ml jug is the right first jug. It handles a latte comfortably and still gives you enough control for art. If you're chasing detailed rosettas and tulips on single cups, add a smaller 350ml jug for finer pours. Cafe bars pouring back-to-back want a 1L professional jug for the main pour plus a small jug for finishing.
If you're learning, a rounder, more forgiving spout gets you clean hearts faster. As your steaming improves, a sharper spout rewards you with crisp lines. The Fellow Eddy's fluted spout and the iKape V2's hawk-bill are made for confident line-work once your milk texture is right. Texture comes first: no spout fixes coarse, bubbly milk. Get the steaming dialled in, then let the jug do its job.
Handle ergonomics matter more than people expect. The Trenton Professional adds a shaped handle specifically for the long hours of all-day pouring. Handleless designs with silicone sleeves give a different, more direct feel some baristas prefer. If you pour all day, hold a few profiles before you commit.
A jug is one part of the milk station. A thermometer (or a jug with one built in, like the Latte Pro) takes the guesswork out of temperature while you're learning. A latte art pen or etching tool helps with detail work. And a milk jug rinser keeps things hygienic and fast on a busy bar. If you're still building out the bench, the wider coffee machine accessories range covers tampers, distribution and cleaning.
There is no single best jug. There's the best jug for your size, your spout preference and your hand. A beginner is better served by a well-made 600ml jug with a balanced spout than by an expensive competition pitcher they can't yet control. Spend where it counts: 304 steel, a clean spout, a handle that suits your grip. That jug earns its place on your bench and outlasts three cheap ones.
Two of the brands on this page sit on the world competition stage. Coffee Parts is the exclusive Australian distributor of MHW-3Bomber, Gold Sponsor of the 2025 World Barista Championship in Milan, and of Timemore, Top Sponsor of the 2025 World Brewers Cup in Jakarta. The MHW-3Bomber Milk Jug 5.0 and the Timemore Rosetta you'll find here come from that same lineage. When championship-grade gear is available to you at home, your pour has no excuse but your own practice.
A milk jug works best as part of a steaming station. Pair it with a stick-on or analog thermometer so you can read milk temperature until it becomes second nature, a latte art tool for etching detail, and a milk jug rinser to keep the bar fast and clean between pours. Many baristas keep two jugs: a 600ml for the body of the pour and a 300ml or 350ml for finishing fine art. Framed as advice, not upsell: buy the thermometer first if you're still learning your texture.
I've watched baristas obsess over the machine and the grinder, then pour through a dented $12 jug with a ruined spout. The jug is the cheapest thing on the bench that changes your result the most. My honest advice: get one well-made 600ml jug in food-grade 304 steel, learn to texture milk properly, and only then chase a competition pitcher. The fancy spout doesn't make the art. Your milk does. We've tested most of these on a real bar, and the ones that lasted are the ones we kept stocking.
A milk frother jug, or steaming pitcher, holds milk while you texture it with a steam wand and then pour it. The spout shape controls your stream for latte art, and the stainless steel lets you feel the temperature as the milk heats. Fill to roughly a third so the milk has room to expand.
For one or two drinks at a time, a 600ml jug is the best all-rounder. A 300ml or 350ml jug suits single cups and detailed art. A 1L jug is for cafe bars pouring several drinks at once. Remember the printed size is a guide, not a fill line: you steam to about a third to half capacity.
It depends on your level. A rounder spout is more forgiving for beginners learning hearts. A sharper, pointed spout, like the hawk-bill on the iKape V2 or the fluted spout on the Fellow Eddy, gives crisp lines for advanced rosettas and tulips. Milk texture matters more than the jug; get steaming dialled in first.
Yes, for steaming. Food-grade 304 stainless steel transfers heat so you can feel the milk temperature through the jug, and it holds its shape and spout under daily use. Most jugs on this page, including Cafelat, Crema Pro, Timemore and iKape, use 304 stainless steel.
The spout is what shapes your pour. A pointed spout releases a thin, precise stream for fine line-work; a rounded spout pours more broadly and forgivingly. We've seen a single dent on a thin spout ruin an otherwise good jug, which is why a well-made spout in thick steel is worth paying for.
While you're learning, yes, a thermometer helps you find the right milk temperature consistently. Some jugs, like the Latte Pro, have a built-in recess for a stick-on thermometer on both sides. Once you can feel the heat through the jug by hand, most baristas stop using one.