Not a Coffee Parts Wholesaler yet?
Want to be a Coffee Parts Wholesaler??
1300 129 129 9am-5pm M-F AEST



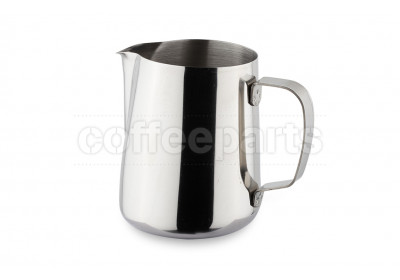

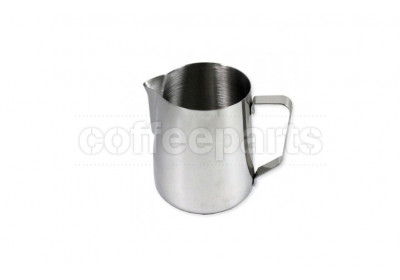


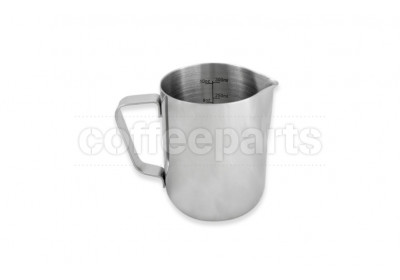

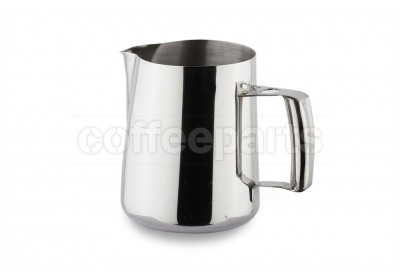
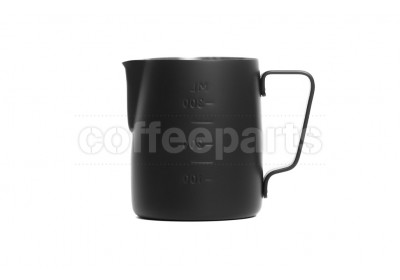
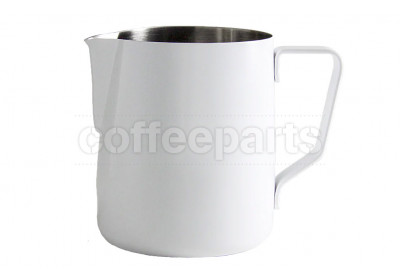
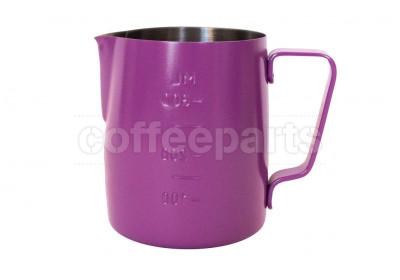
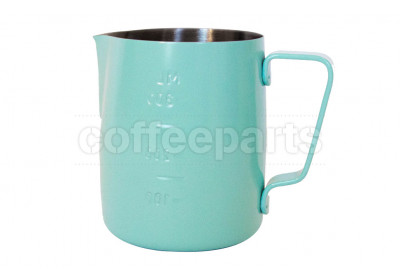
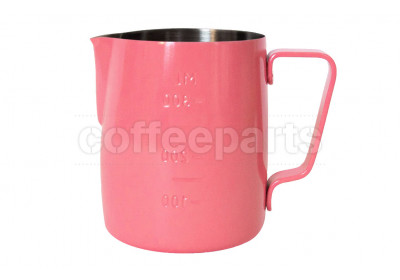
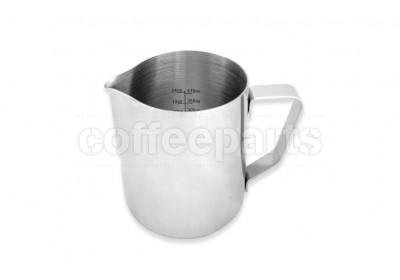


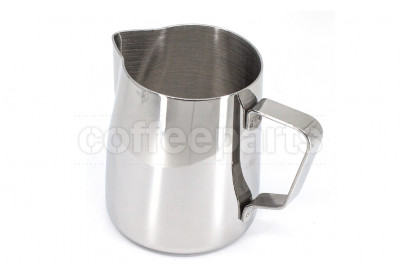


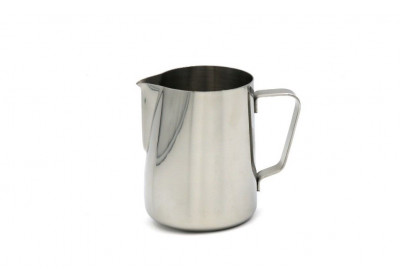


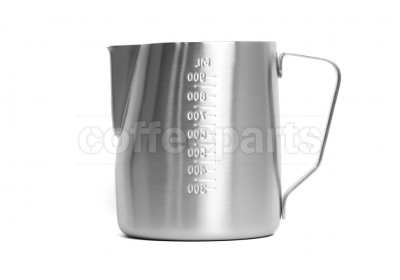
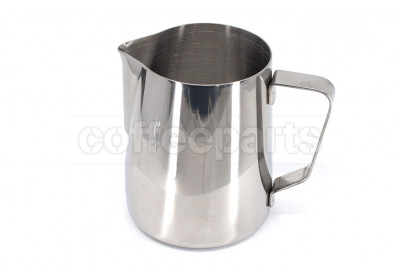


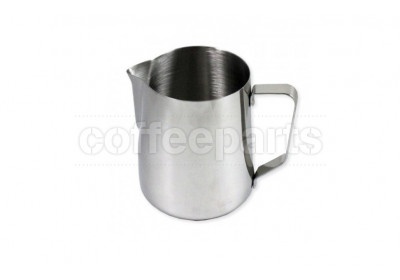

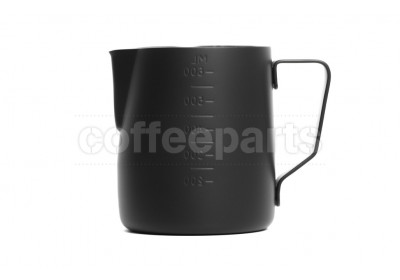

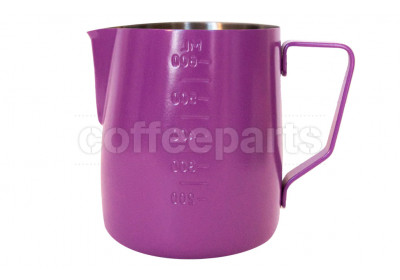
Milk texturing is without a doubt one of the hardest things to learn. For someone who is new to a high volume coffee shop or just starting out at home, this can be intimidating. Undoubtedly the ‘creative’ aspect of brewing can be quite stressful to produce something aesthetic in a timely manner. Definitely a little less stressful if you're just at home trying to whip up something impressive for a partner (or maybe not so much).
As you may be aware, Australia has an incredibly large coffee culture. Our coffee culture has been recognised as one of the best in the world, typically our most ordered coffee would include a flat white or latte. With milk being 70% to 80% of the beverage, it's critical we get this right.
In order for us to get the perfect milk texture, we have to get down pat the variables that make this possible.
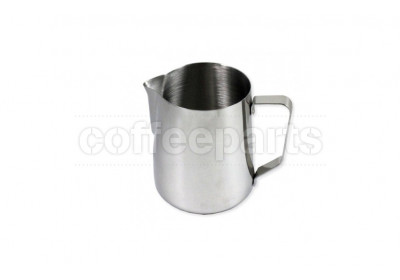
Now before we get started on frothing milk lets talk about the importance of a stainless steel milk jug. You may hear it called a barista milk jug however, it plays an important role in heating up your milk and allowing you to create the essential latte art.
Which milk frother jug will help me with latte art and free pouring is a common question we get asked, and realistically as much as the correct milk frother jug can help, a lot does come down to the barista, experience and choice of milk. Espresso milk frothing pitcher vary in design, build, quality and price.
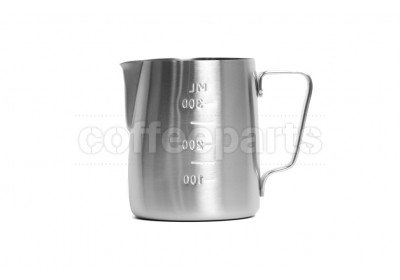
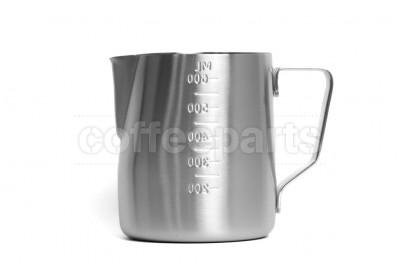
Firstly it is important to choose the correct barista milk jug size for the amount of milk based coffees being produced taking into account cup size. Some stainless steel milk jug do have internal making for measurements, yet a rule of thumb is to only ever fill the milk frothing jug to the beginning of the pouring spout before you steam your milk.
It is also important to remember it is easier to free pour and land some of you milk jug latte art from smaller jugs, generally 400ml in size. If you need to do larger volumes of milk you may use a larger jug and then split the milk into smaller jugs for pouring. This is called milk splitting.
Also note, if using a domestic machine it is not recommended that the steaming pitcher go over 600ml is size as the steam capacity of the machine will be limited. This is generally not too much of an issue in domestic machines as porcelain latte cups are generally 180-220ml so a 600ml jug will pour two lattes easily...
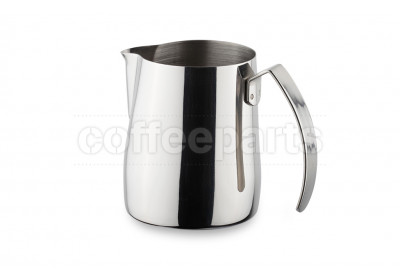
Sharper spouts are a common feature of latte art pitchers such as the latte pro milk jug. These precision spouts help to pour latte art much more easily and you will have noticeably more control and precision.
Now that the professional barista milk jug is chosen, wall thickness may be a consideration, with jugs with thicker stainless steel generally allowing the barista slightly more time to stretch the milk as the jug will absorb some of the temperature as the milk is heating up... Once wall thickness is determined, you may consider using a teflon coated jug to allow for less friction between the jug and milk when stretching the milk.
Finally, the milk frother jug classic spout, and this is a topic of many forum debates... Narrow and pointy, or wide and rolled... The shape of the spout will depend on the latte art free pouring design you are trying to achieve.
There is even a double spout milk jug for those who want . to pour two cups at once. Ultimately it all becomes a matter of personal preference and curating your perfect set of barista gear!
How do I froth my milk?
NOTE: There are different aeration times and heating temperatures for different milk types.
Phase 1: Stretching
Phase 2: Texturing
How do I make latte art?
As we know by now, there’s a little more to brewing coffee than just putting a coffee capsule into a machine and hitting a button, well for a quality cup of coffee anyway. All of our accessories are meant to complement and significantly enhance your brewing experience and ability! Usually, you’d begin your espresso process by using a Dosing tool to weigh the appropriate amount of beans with your Coffee Scales before grinding your fresh coffee!
Your coffee grounds will be put back into your dosing cup and transferred into your Portafilter Basket which may be a single, double or triple! The Distribution tool will help you to evenly distribute the grounds within the Filter Basket prior to using a coffee tamper to compress the grounds. By placing your portafilter onto a Tamping Mat you’ll prevent damage to the portafilter handle or bench, simply place 10-30kg of even pressure down on the tamper and twist to polish. Lock the portafilter into your machine, use the scales under the spout with whichever cup, glassware or reusable cup you prefer and commence brewing.
Now when texturing milk it's important to use the correctly sized milk jug for the amount of milk you require. Once you texture the milk, use a milk Thermometer to get the ideal steaming time for whatever milk you’re working with and if in a cafe you might have the option of a Milk Jug Rinser which is incredibly convenient for the post brew clean! A chocolate shaker is a must for those mocha or cappuccino lovers. When the shot is pouring, make sure to use a barista timer or your scales to measure for the perfect extraction, we recommend 23g in and 46g out at an extraction time of 25-30 seconds. Knock the puck out in either a Knock Box at home or a Standing knock tube or in bench shoot if you’re in a cafe!
Now every machine deserves a good clean, check out our range of Blind Filters, cleaning brushes, cleaning products and chemicals! Everyone loves having a few beans up your sleeve so be sure to check out our favourite Coffee Storage units for home or cafe! If you've got a passion for coffee, well there's nothing tastier than some cupping, use some of our coffee Cupping Tools, such as bowls and spoons to bring this professional experience into your own home!